
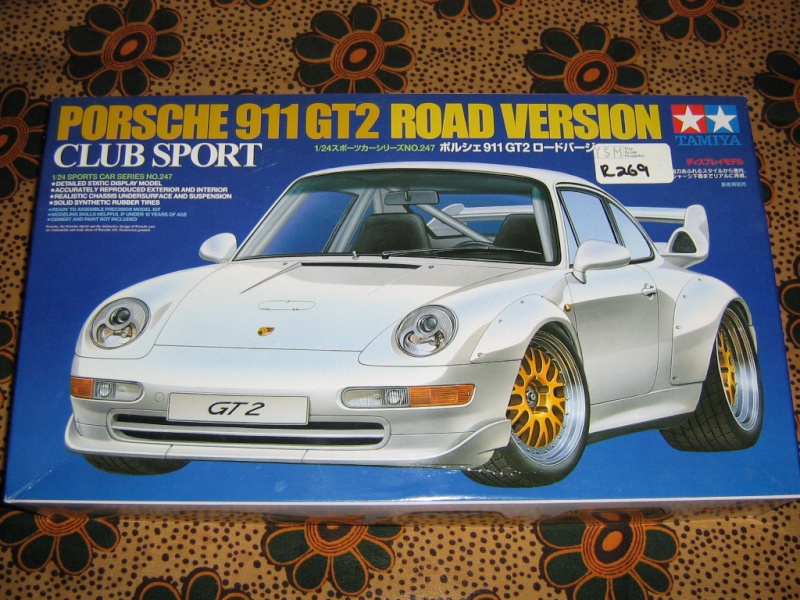
GB1 - TAMIYA Porsche 911 GT2 Road Version
3 posters
:: COMPETITIONS :: GROUP BUILDS
Page 1 of 1


vipercore- Primi Dieci
- Posts : 25
Join date : 2014-08-04
Age : 41
Location : Primrose
Re: GB1 - TAMIYA Porsche 911 GT2 Road Version
![]() by vipercore Sat Nov 01, 2014 12:59 pm
by vipercore Sat Nov 01, 2014 12:59 pm
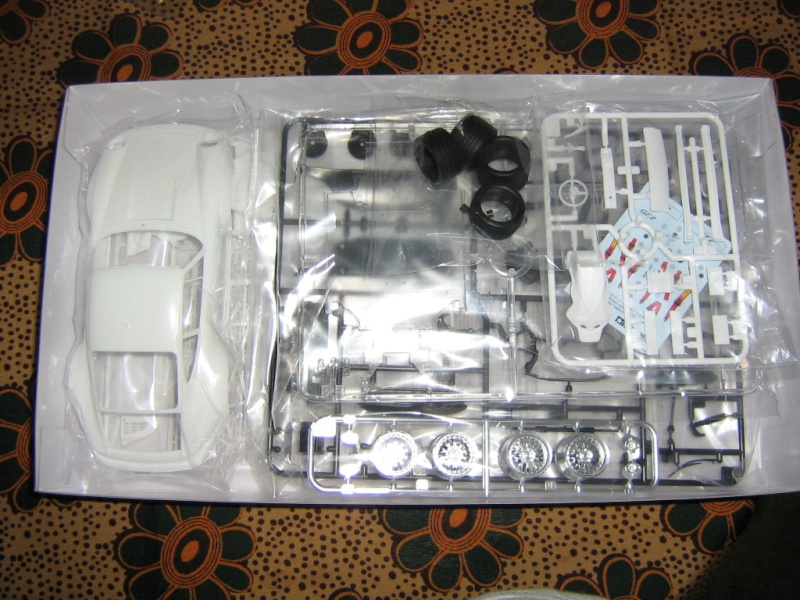
Ok I unbox the model to today.
Thinking to paint it a yellow gold flak type paint job.


Thinking to paint it a yellow gold flak type paint job.
vipercore- Primi Dieci
- Posts : 25
Join date : 2014-08-04
Age : 41
Location : Primrose

STEVE- Admin
- Posts : 156
Join date : 2014-07-30
Age : 55
Location : JOHANNESBURG -

Re: GB1 - TAMIYA Porsche 911 GT2 Road Version
![]() by vipercore Tue Nov 11, 2014 6:08 am
by vipercore Tue Nov 11, 2014 6:08 am
Did some work on the 911.
I sprayed a test shot on a plastic spoon to is if the yellow gold flak idea will work.
I am happy with the result.
[img]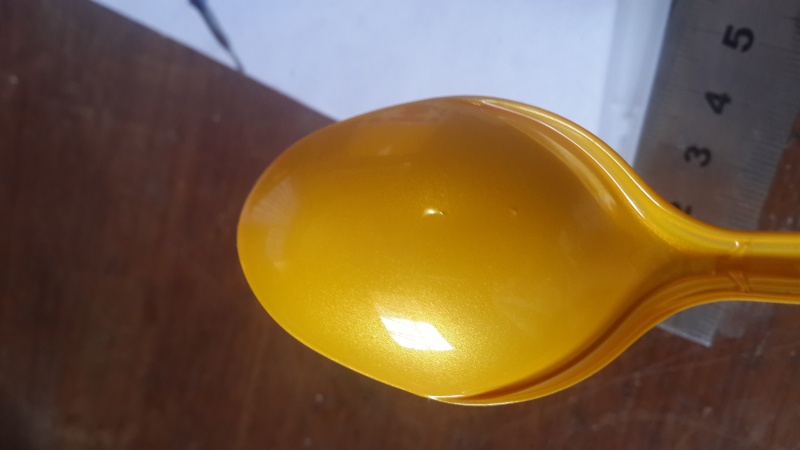 [/img]
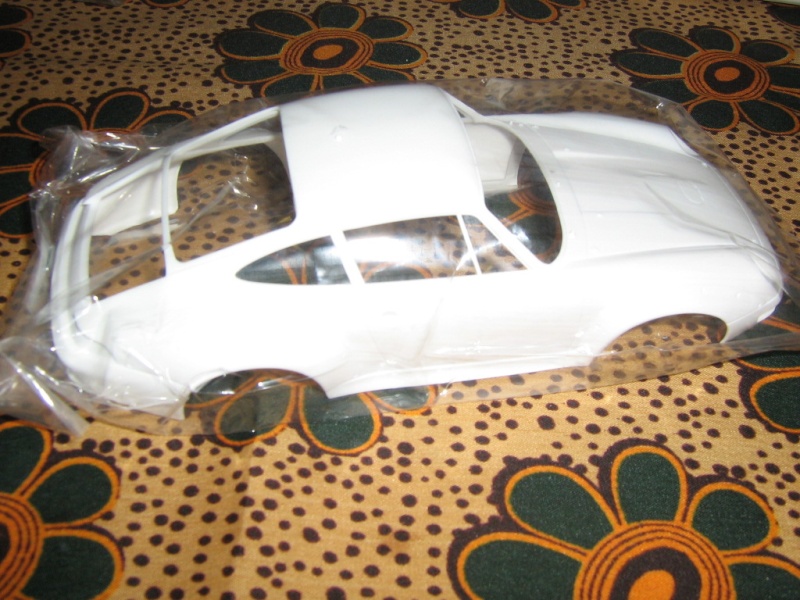
Cleaned up seam line on the body and a few parts.
Fulled up some holes in the plastic to.
[img] [/img]
[img]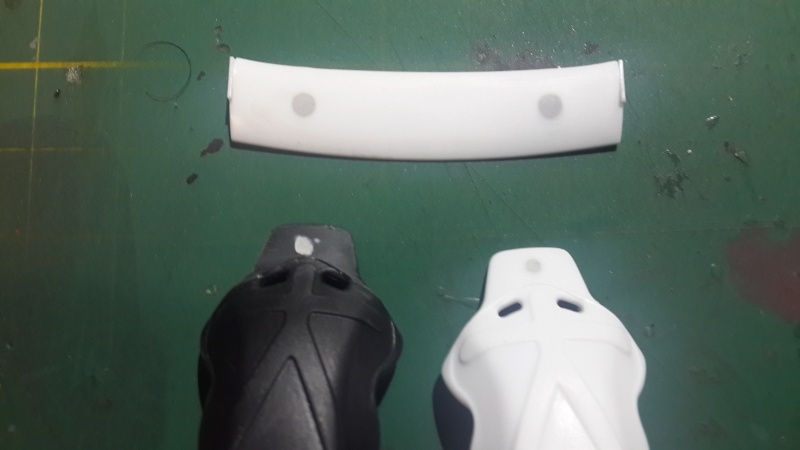 [/img]
Found that the mirrors on the porcshe is not very leka. The base of the right mirror is longer then the left mirror.
[img] [/img]
Cheers
I sprayed a test shot on a plastic spoon to is if the yellow gold flak idea will work.
I am happy with the result.
[img]
[/img]Cleaned up seam line on the body and a few parts.
Fulled up some holes in the plastic to.
[img]
[/img][img]
[/img]Found that the mirrors on the porcshe is not very leka. The base of the right mirror is longer then the left mirror.
[img]
[/img]Cheers
vipercore- Primi Dieci
- Posts : 25
Join date : 2014-08-04
Age : 41
Location : Primrose
Re: GB1 - TAMIYA Porsche 911 GT2 Road Version
![]() by STEVE Tue Nov 11, 2014 6:16 am
by STEVE Tue Nov 11, 2014 6:16 am
This ones gonna look nice Renier....
Like the colour
Like the colour
STEVE- Admin
- Posts : 156
Join date : 2014-07-30
Age : 55
Location : JOHANNESBURG -
Re: GB1 - TAMIYA Porsche 911 GT2 Road Version
![]() by vipercore Tue Nov 18, 2014 6:43 am
by vipercore Tue Nov 18, 2014 6:43 am
Hi all did some work on the Gt this weekend.
Filled a little recess in the wing below the gt2 logo and sprayed it with light coat tamiya white primer.

Filled a hole in the rear bummper, not sure what its there for.

Asked friends about the mirrors and found that the mirrors must by place like this.

Removed the hoot clips and other object on the bonet. Will add Photo-Etched hood clips when post office start working again

Filled a little recess in the wing below the gt2 logo and sprayed it with light coat tamiya white primer.
Filled a hole in the rear bummper, not sure what its there for.
Asked friends about the mirrors and found that the mirrors must by place like this.
Removed the hoot clips and other object on the bonet. Will add Photo-Etched hood clips when post office start working again
vipercore- Primi Dieci
- Posts : 25
Join date : 2014-08-04
Age : 41
Location : Primrose
Re: GB1 - TAMIYA Porsche 911 GT2 Road Version
![]() by vipercore Fri Mar 13, 2015 7:16 am
by vipercore Fri Mar 13, 2015 7:16 am
Ok so I was lazy and didn't post pics but now here a bunch of pics
First a tip on how I attach my models mirrors
I drill a 0.5mm hole into the base of the mirror and into the side of the body.
Then insert 0.5mm wire into the base of the mirror with small drop(really small) super glue.
A 0.5mm can be pushed into the hole in the body to keep it clean when painting it or re drilling the hole to clear it out.
The following image show how I sprayed the mirrors

I drilled a 0.5mm hole into a ice scream stick and insert the mirrors wire into it

Ready for paint

The interior is almost done just need to do the dashboard


I need to finish up the front suspension and paint the engine.

I stuffed up the carbon decal on the bonnet and try to fix it but cannot get the small strip on the right off.
So I soak the body in water over night to help soften the decal to get if off with damaging the paint.


The next morning was not so fun. The nail polish didn't like the water and was full of little bubbles.
Try sanding it but as worsen it so will strip it this weekend
First a tip on how I attach my models mirrors
I drill a 0.5mm hole into the base of the mirror and into the side of the body.
Then insert 0.5mm wire into the base of the mirror with small drop(really small) super glue.
A 0.5mm can be pushed into the hole in the body to keep it clean when painting it or re drilling the hole to clear it out.
The following image show how I sprayed the mirrors
I drilled a 0.5mm hole into a ice scream stick and insert the mirrors wire into it
Ready for paint
The interior is almost done just need to do the dashboard
I need to finish up the front suspension and paint the engine.
I stuffed up the carbon decal on the bonnet and try to fix it but cannot get the small strip on the right off.
So I soak the body in water over night to help soften the decal to get if off with damaging the paint.
The next morning was not so fun. The nail polish didn't like the water and was full of little bubbles.
Try sanding it but as worsen it so will strip it this weekend
vipercore- Primi Dieci
- Posts : 25
Join date : 2014-08-04
Age : 41
Location : Primrose
Re: GB1 - TAMIYA Porsche 911 GT2 Road Version
![]() by STEVE Fri Mar 13, 2015 7:46 am
by STEVE Fri Mar 13, 2015 7:46 am
Hehe.. That sucks...
I like the seats man, very neat indeed.
This is going to look very coool indeed.
Guess I should get a wiggle on with mine too hey...
Nice one Renier
I like the seats man, very neat indeed.
This is going to look very coool indeed.
Guess I should get a wiggle on with mine too hey...
Nice one Renier
STEVE- Admin
- Posts : 156
Join date : 2014-07-30
Age : 55
Location : JOHANNESBURG -
Re: GB1 - TAMIYA Porsche 911 GT2 Road Version
![]() by vipercore Fri Mar 13, 2015 8:09 am
by vipercore Fri Mar 13, 2015 8:09 am
Thanks
Only 2 week to April I need finish this one
Only 2 week to April I need finish this one
vipercore- Primi Dieci
- Posts : 25
Join date : 2014-08-04
Age : 41
Location : Primrose
Re: GB1 - TAMIYA Porsche 911 GT2 Road Version
![]() by vipercore Mon Mar 16, 2015 12:06 pm
by vipercore Mon Mar 16, 2015 12:06 pm
So the engine is almost done just need to add the rear shocks.
The front suspension is painted and ready to be fitted.
The interior is almost done just need to add handbrake and gear shift before addeing dashboard


The front suspension is painted and ready to be fitted.
The interior is almost done just need to add handbrake and gear shift before addeing dashboard
vipercore- Primi Dieci
- Posts : 25
Join date : 2014-08-04
Age : 41
Location : Primrose
Re: GB1 - TAMIYA Porsche 911 GT2 Road Version
![]() by STEVE Mon Mar 16, 2015 12:33 pm
by STEVE Mon Mar 16, 2015 12:33 pm
That looks really cool Renier 
S
S
STEVE- Admin
- Posts : 156
Join date : 2014-07-30
Age : 55
Location : JOHANNESBURG -
Re: GB1 - TAMIYA Porsche 911 GT2 Road Version
![]() by Snowy Mon Apr 20, 2015 9:12 am
by Snowy Mon Apr 20, 2015 9:12 am
Smoking............... damn, that's looking great!! 

Snowy- SPANNER JOCKEY

- Posts : 27
Join date : 2014-12-05
» tamiya rx7
» TAMIYA SUZUKI RGV
» TAMIYA VW BEETLE
» GB1 - Tamiya 1/24 Honda NSX.
» Tamiya 04 Yamaha YZR-M1
» TAMIYA SUZUKI RGV
» TAMIYA VW BEETLE
» GB1 - Tamiya 1/24 Honda NSX.
» Tamiya 04 Yamaha YZR-M1
:: COMPETITIONS :: GROUP BUILDS
Page 1 of 1
Permissions in this forum:
You cannot reply to topics in this forum|
|
|