
'56 Chevy Nomad 427
3 posters
Page 1 of 1

'56 Chevy Nomad 427
![]() by STEVE Fri Oct 31, 2014 9:26 am
by STEVE Fri Oct 31, 2014 9:26 am
Howdy Chaps
After certain pressure (Hello Renier), I've decide to do a build thread.
Revell 56 Chevy Nomad 2 in 1, the California Wheels version with big wheels and lowered suspension.

Actually quite a nice kit for its age, bit of flash but no train smash.

...and of course we need to have at least one party piece, and this is it, going to get rid of the golf cart motor it has an cram in a Corvette 427 motor
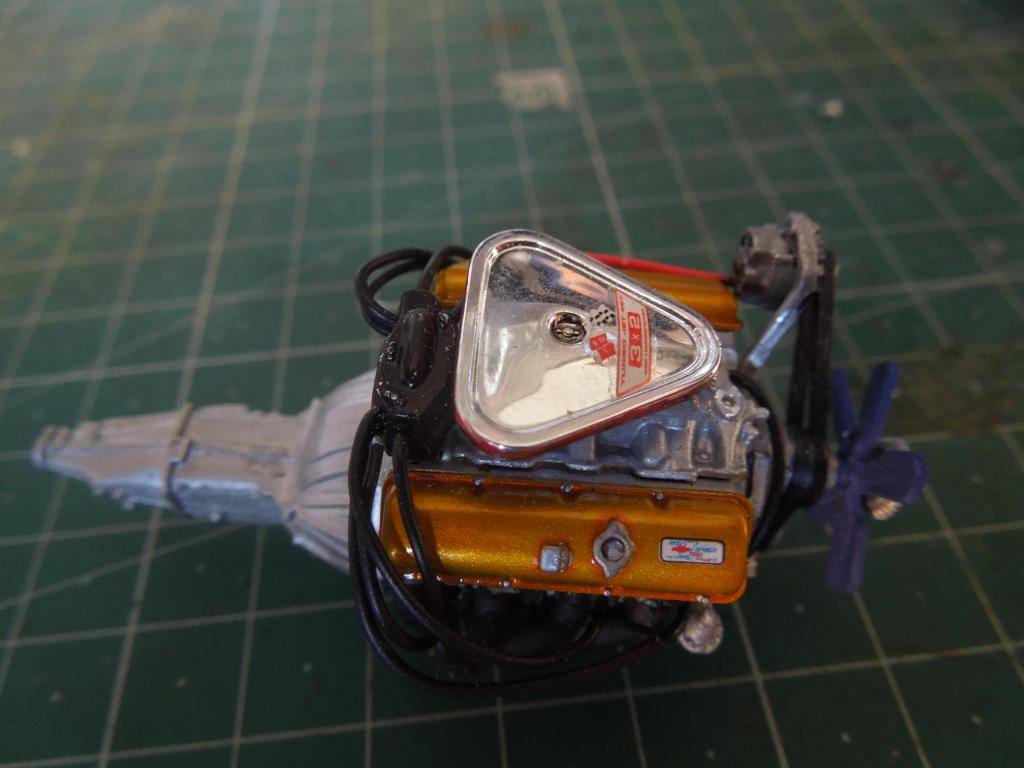
I will be changing the plug leads just btw...
ok, thats it for now...
Last edited by STEVE on Sat Nov 22, 2014 7:41 am; edited 1 time in total

STEVE- Admin
- Posts : 156
Join date : 2014-07-30
Age : 55
Location : JOHANNESBURG -


vipercore- Primi Dieci
- Posts : 25
Join date : 2014-08-04
Age : 41
Location : Primrose
Re: '56 Chevy Nomad 427
![]() by STEVE Mon Nov 03, 2014 6:28 am
by STEVE Mon Nov 03, 2014 6:28 am
Ok then...
After quite a bit of huffing and puffing, the 427 does actually fit into the engine bay (much to my surprise). The original kits motor and the 427 are the same length so that was ok, but the width was a tad bigger.
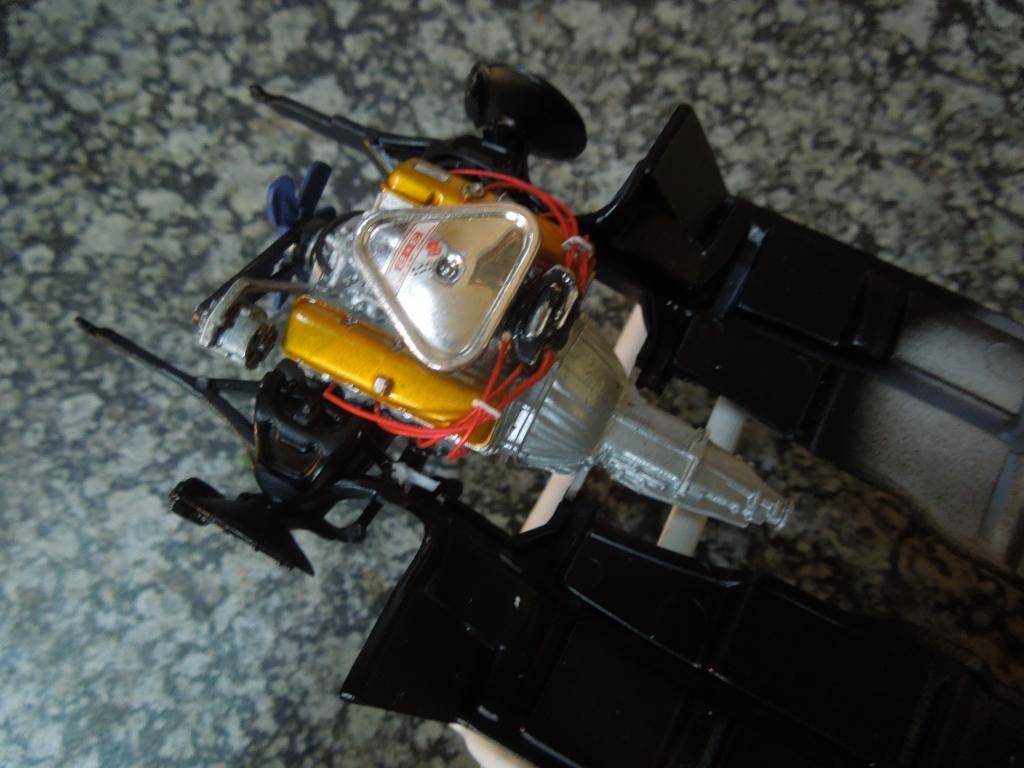
I also replaced the plugwires, looking much better and scratchbuilt wiring looms from plasticcard

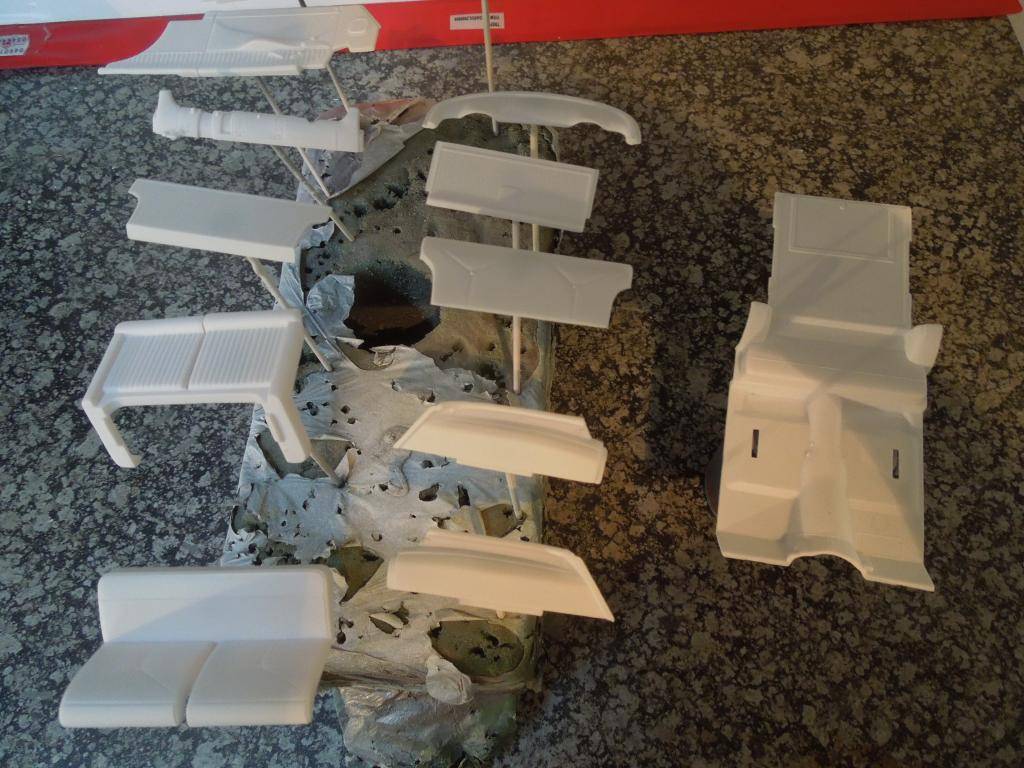
All the interior parts have been undercoated and now the great masking and spraying game can begin in earnest...
Later
Steve
After quite a bit of huffing and puffing, the 427 does actually fit into the engine bay (much to my surprise). The original kits motor and the 427 are the same length so that was ok, but the width was a tad bigger.

I also replaced the plugwires, looking much better and scratchbuilt wiring looms from plasticcard

All the interior parts have been undercoated and now the great masking and spraying game can begin in earnest...

Later
Steve
STEVE- Admin
- Posts : 156
Join date : 2014-07-30
Age : 55
Location : JOHANNESBURG -
vipercore- Primi Dieci
- Posts : 25
Join date : 2014-08-04
Age : 41
Location : Primrose
Re: '56 Chevy Nomad 427
![]() by STEVE Sat Nov 22, 2014 7:47 am
by STEVE Sat Nov 22, 2014 7:47 am
Howdy.
Bit of an update.
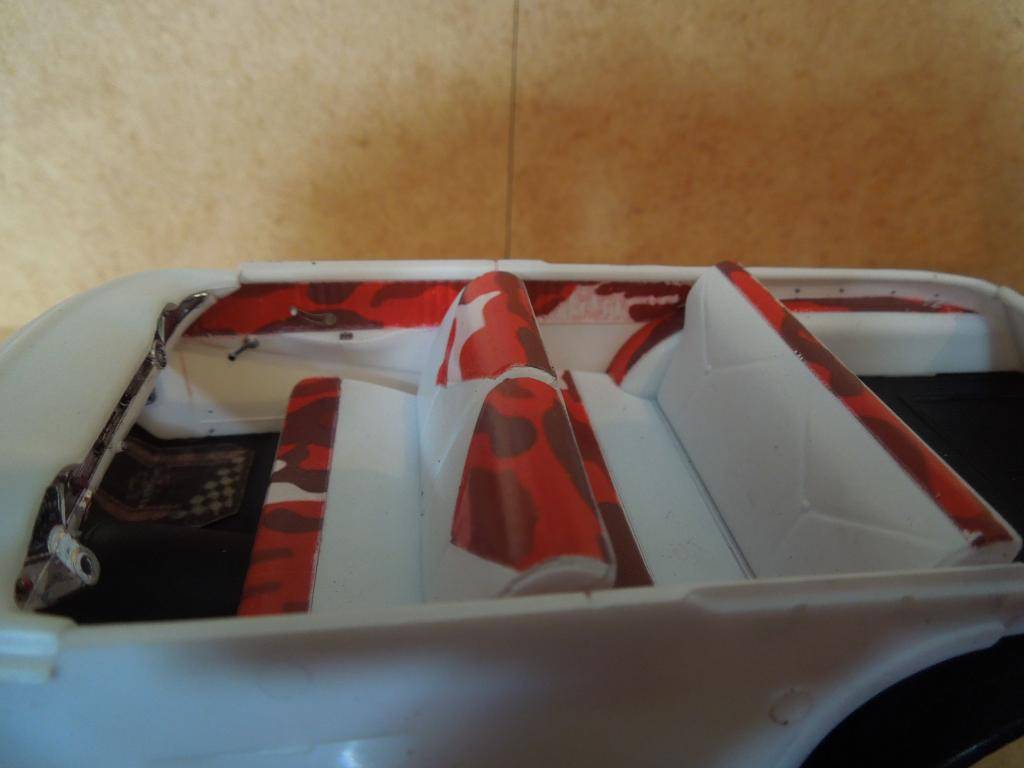
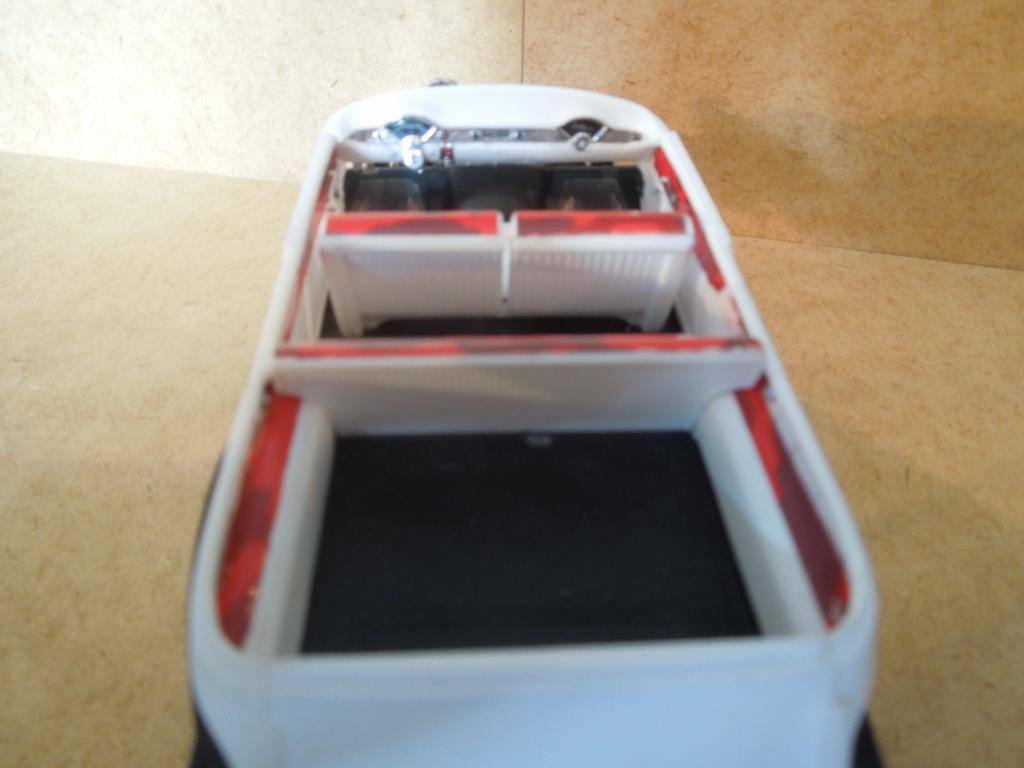
Interior is almost finished.
I downloaded some red urban camo of the interweb and made some decals for the seats and interior trim. Rest of the interior is matt white.

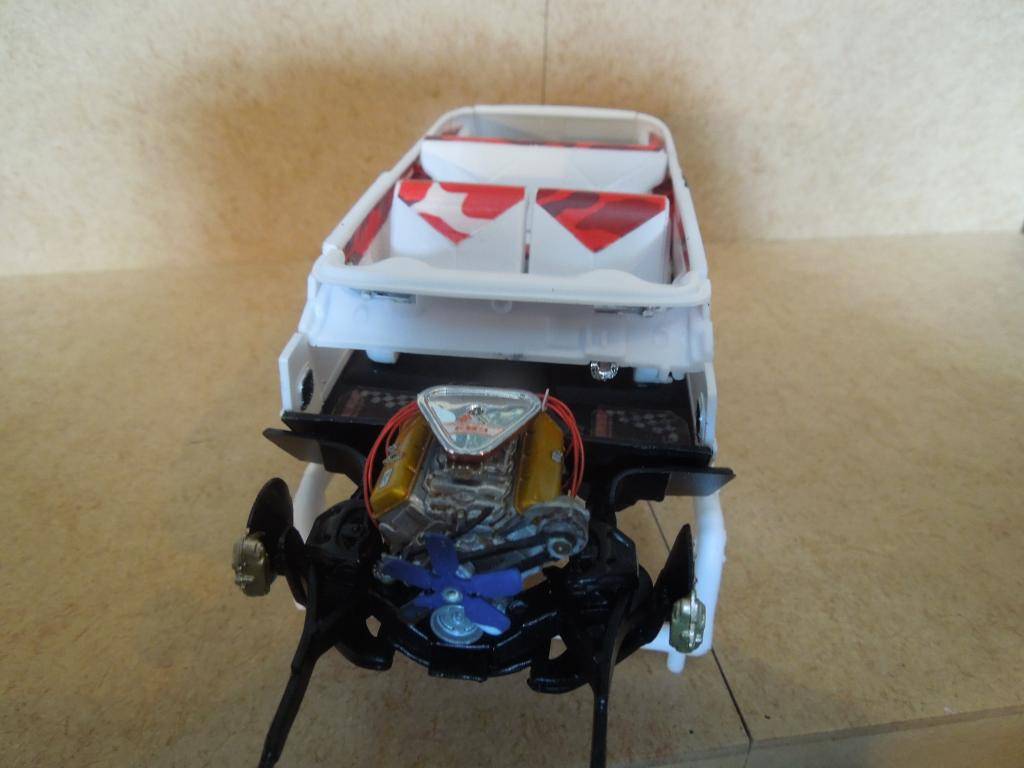
The 427 did actually fit with a bit of gemodifying
Theres just enough room for the firewall at the back.
Okay, time to start on the body.
Later...
Bit of an update.
Interior is almost finished.
I downloaded some red urban camo of the interweb and made some decals for the seats and interior trim. Rest of the interior is matt white.


The 427 did actually fit with a bit of gemodifying
Theres just enough room for the firewall at the back.

Okay, time to start on the body.
Later...
STEVE- Admin
- Posts : 156
Join date : 2014-07-30
Age : 55
Location : JOHANNESBURG -
Re: '56 Chevy Nomad 427
![]() by vipercore Mon Nov 24, 2014 6:40 am
by vipercore Mon Nov 24, 2014 6:40 am
Hey Hey Look at that.
The egine valuse looks good in that colour plus the floor mats make the interior.
Good work Steve
The egine valuse looks good in that colour plus the floor mats make the interior.
Good work Steve
vipercore- Primi Dieci
- Posts : 25
Join date : 2014-08-04
Age : 41
Location : Primrose
Re: '56 Chevy Nomad 427
![]() by STEVE Mon Nov 24, 2014 6:59 am
by STEVE Mon Nov 24, 2014 6:59 am
Thanks Renier.
Photo's are a bit kak, but the interior does look better than the photos. just needs a couple more coats of flat to tone the decals down...
Photo's are a bit kak, but the interior does look better than the photos. just needs a couple more coats of flat to tone the decals down...
STEVE- Admin
- Posts : 156
Join date : 2014-07-30
Age : 55
Location : JOHANNESBURG -
Re: '56 Chevy Nomad 427
![]() by STEVE Fri Dec 05, 2014 6:37 pm
by STEVE Fri Dec 05, 2014 6:37 pm
Howdy....
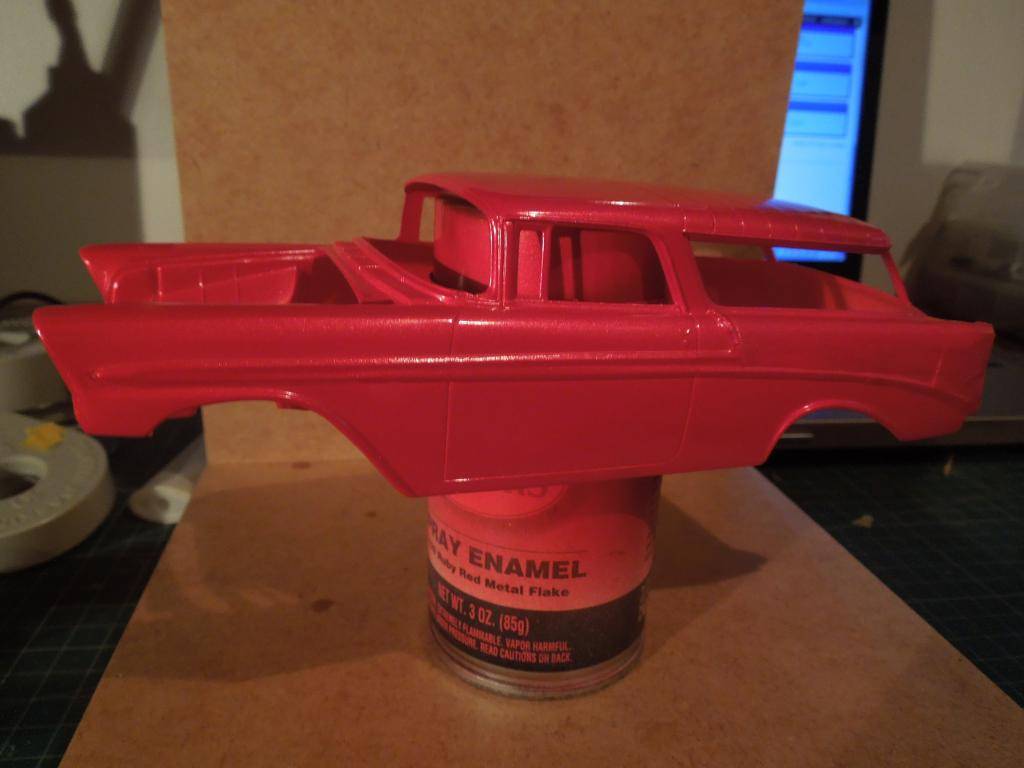
Ok ive started on the body. the white inserts have been sprayed and gloss cleared, last week, and everything has been taped up now to start the main colour.
The base coat is Tamiya Mica Red which is on at the moment.
Over that im going to spray gloss clear, then over that clear red, then gloss clear again and a final clear red and gloss coat. This, apparently gives the clear red more depth... but we shall see...
The paint look very thick over the side flashes, but its actually covered with masking tape...
more soon
Ok ive started on the body. the white inserts have been sprayed and gloss cleared, last week, and everything has been taped up now to start the main colour.
The base coat is Tamiya Mica Red which is on at the moment.
Over that im going to spray gloss clear, then over that clear red, then gloss clear again and a final clear red and gloss coat. This, apparently gives the clear red more depth... but we shall see...

The paint look very thick over the side flashes, but its actually covered with masking tape...
more soon
STEVE- Admin
- Posts : 156
Join date : 2014-07-30
Age : 55
Location : JOHANNESBURG -

Snowy- SPANNER JOCKEY

- Posts : 27
Join date : 2014-12-05
Re: '56 Chevy Nomad 427
![]() by STEVE Mon Mar 07, 2016 12:39 pm
by STEVE Mon Mar 07, 2016 12:39 pm
A quick update on this...

Still on the go... but another one as well...


Still on the go... but another one as well...

STEVE- Admin
- Posts : 156
Join date : 2014-07-30
Age : 55
Location : JOHANNESBURG -
» Hybrid Chevy
» 1986 CHEVY EL CAMINO SS
» 1966 CHEVY EL CAMINO
» REVELL '66 CHEVY EL CAMINO
» 1950 CHEVY 3100 SHOP TRUCK
» 1986 CHEVY EL CAMINO SS
» 1966 CHEVY EL CAMINO
» REVELL '66 CHEVY EL CAMINO
» 1950 CHEVY 3100 SHOP TRUCK
Page 1 of 1
Permissions in this forum:
You cannot reply to topics in this forum|
|
|